A guide to parallel Parking
How to parallel park
How to parallel park - our video guide to mastering the manoeuvre
Few manoeuvres strike fear into the hearts of learner drivers like the parallel park.
Like many things however, practice makes perfect, coupled with a good understanding of how best to execute the manoeuvre.
Watch our 2 minute tutorial
Parallel Parking / Reverse Parking
Parallel parking or reverse parking as it can also be referred to is one of four manoeuvres you will need to learn before taking the practical driving test.
The reverse parallel park manoeuvre is one that many struggle with. However Reverse parking is made easier by the use of reference or focal points which is what we will use.
This example shows a proven and simple technique that will enable you to pass this part of the driving test.
A good driving school or instructor should provide complete instructions, and focal points for you and your pupil, to make the reverse parallel park easier for you to complete successfully.
Doing a Parallel Park
During the driving test, the examiner will be looking for you to demonstrate three key points. These are:
- Accuracy
To successfully park behind another vehicle and by finishing not too far away from the vehicle in front and not too far from the kerb. Also by not touching the kerb or mounting the pavement. - Control
By keeping the cars speed under control by use of clutch control and by use of effective steering. - Observation
Constant all-round observation throughout the manoeuvre.
Preparation, Observation, Movement
Prepare, Observe and Move
An essential routine with all manoeuvres is the driving routine POM;
- Prepare – to prepare the car. Select reverse and depending on the road, get the bite point and hand on handbrake
- Observe – observe to ensure it is safe to move, centre mirror, right mirror, right shoulder blind spot
- Move
The POM routine should be carried out in this order each time the car requires a change of direction from forward to reverse. If for example you forget to prepare a part of of the car after you have completed observations, you will need to carry out observations once again after preparing.
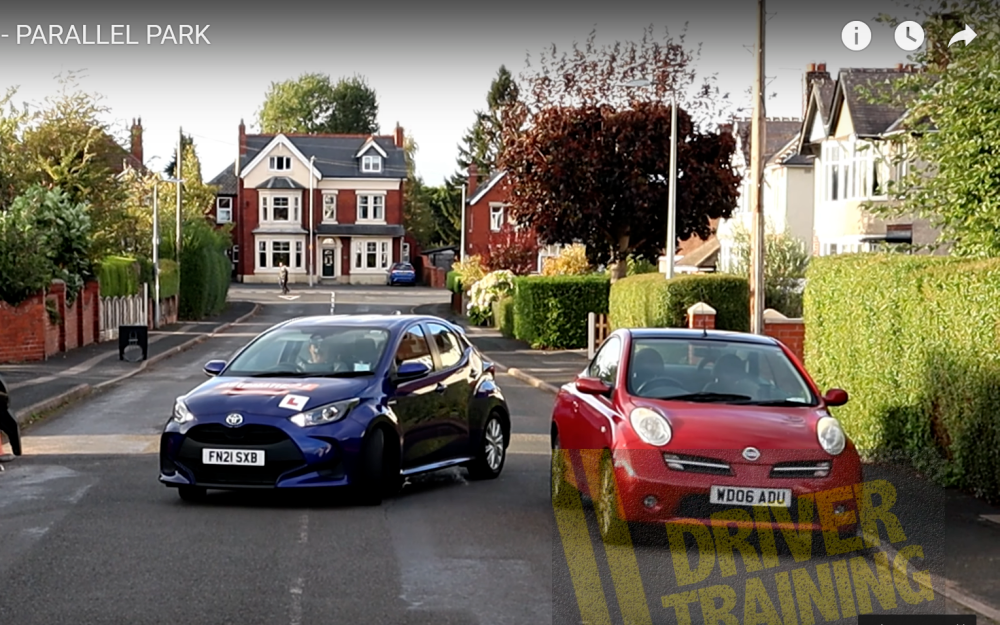
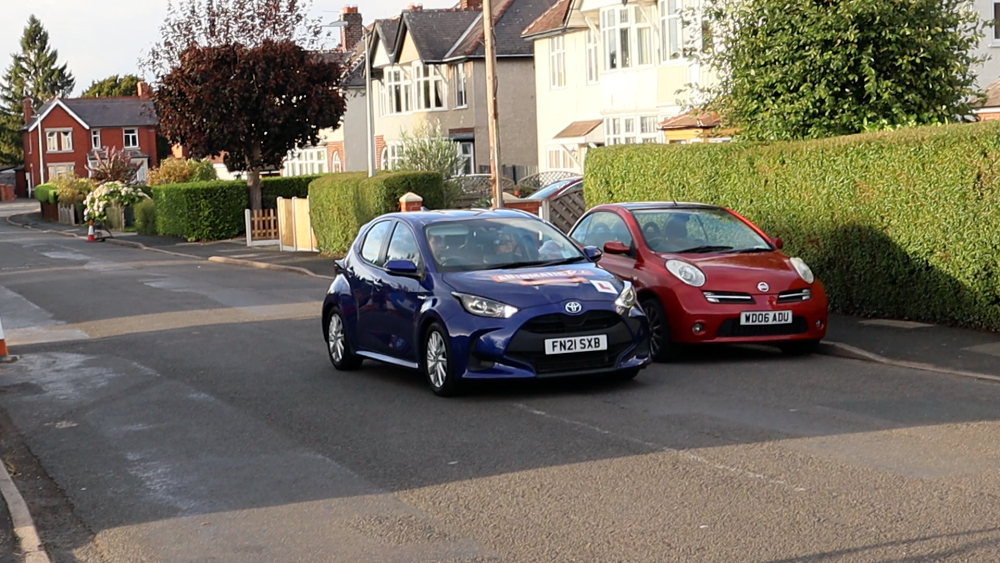
Pulling Up On The Left
The examiner will say that they wish you to demonstrate the reverse parallel park on the car in front. Before moving off to get position for this manoeuvre, check centre right mirror and right shoulder blindpot and move off slowly so as to get an ideal and accurate position.
The examiner allows plenty of time for manoeuvres, so no need to rush. As you are about to pull alongside the vehicle, check your centre and left mirror. If there are approaching vehicles, cyclists or pedestrians, indicate to the left.
Ideally, stop a little ahead of the car (around half a car length) and for the distance away from the side of the car, you need to be between half a doors width and a full doors width. Once stopped, remember to cancel your indicator if you applied it. Now select reverse gear regardless of any approaching traffic as your reverse light will provide them with your intention to reverse.
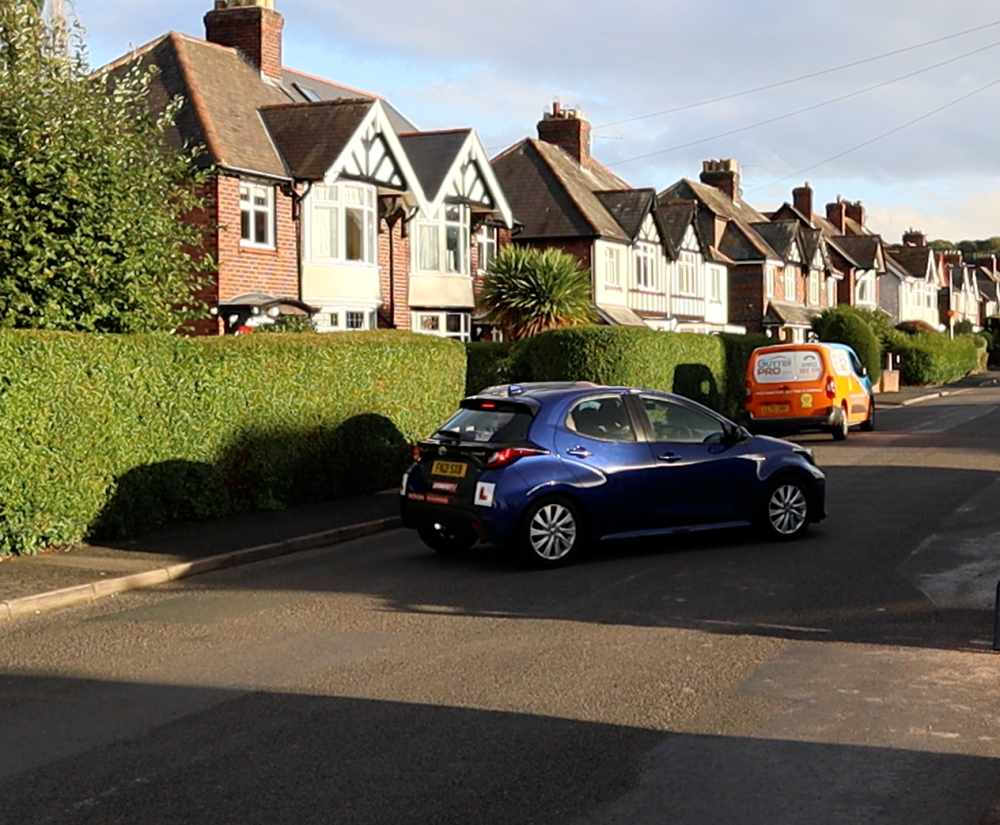
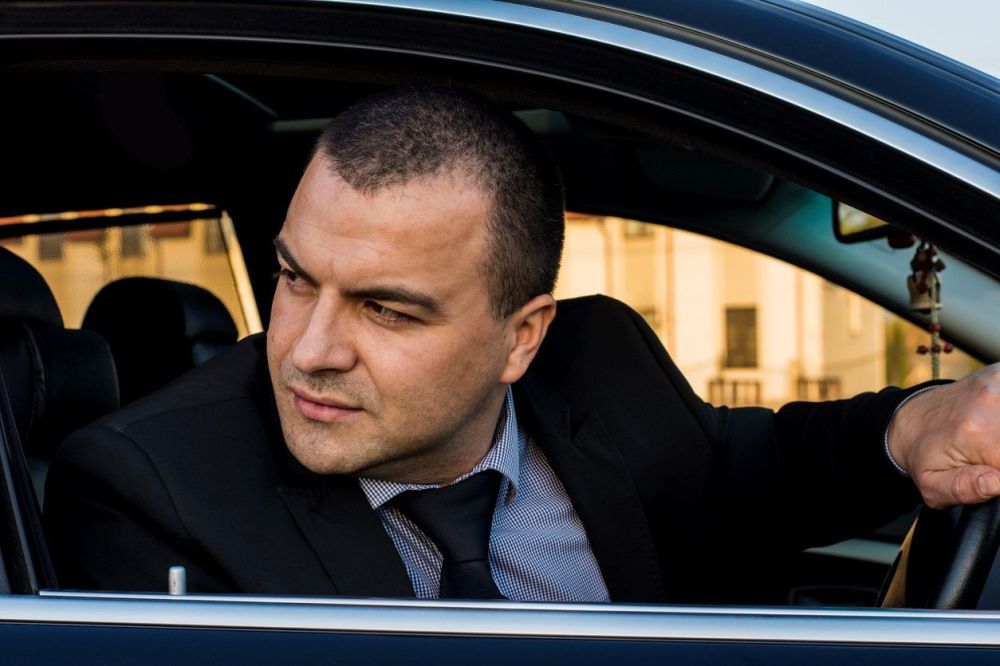
Get Level With The Parked Car
Before you start reversing backwards, it is essential you take all round effective observations. If there are any approaching vehicles or cyclists, wait till they have passed. Also remember pedestrians. If they are close or approaching your car at any point throughout this manoeuvre, stop and let them pass.
Once you are happy it is all clear, look in the direction that the car is travelling, which is out of the rear window, then proceed to move the car backwards. Keep the car very slow. Think of a slow walking pace to give you an idea. Good clutch control is required to keep the car this slow. If your car permits, just use the clutch to move the car and cover the brake in case you need to stop quickly. Not all cars allow this feature however.
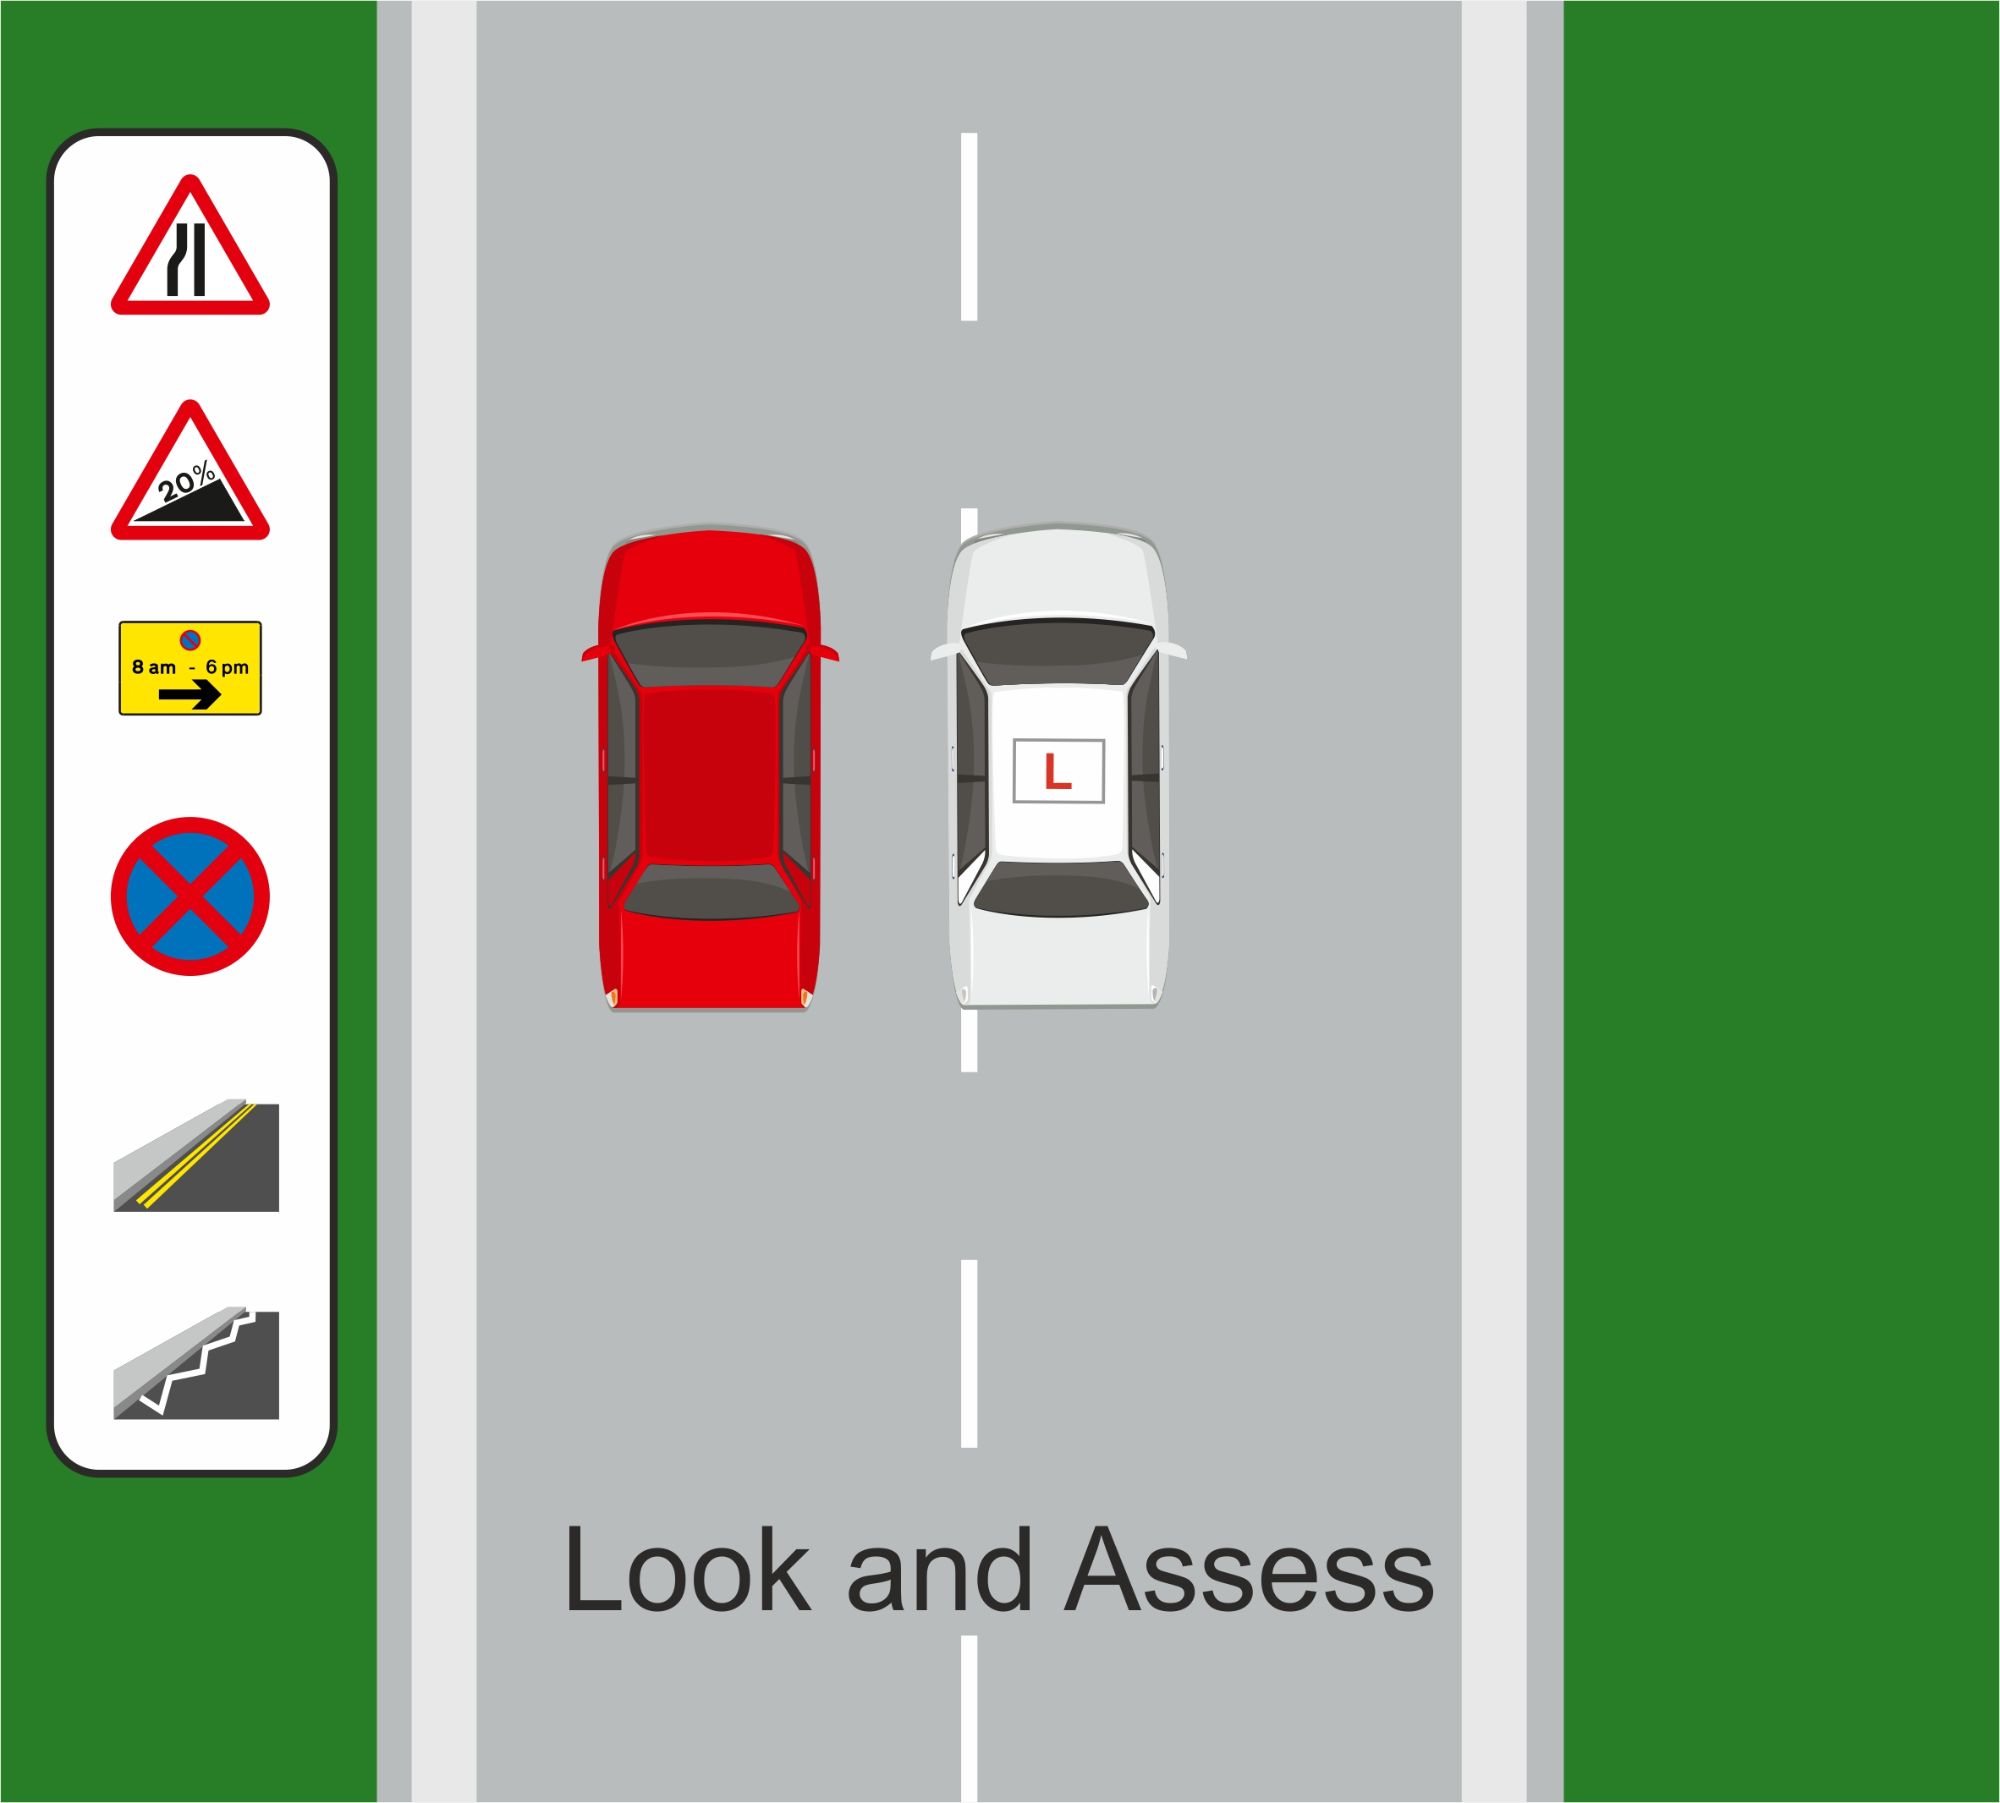
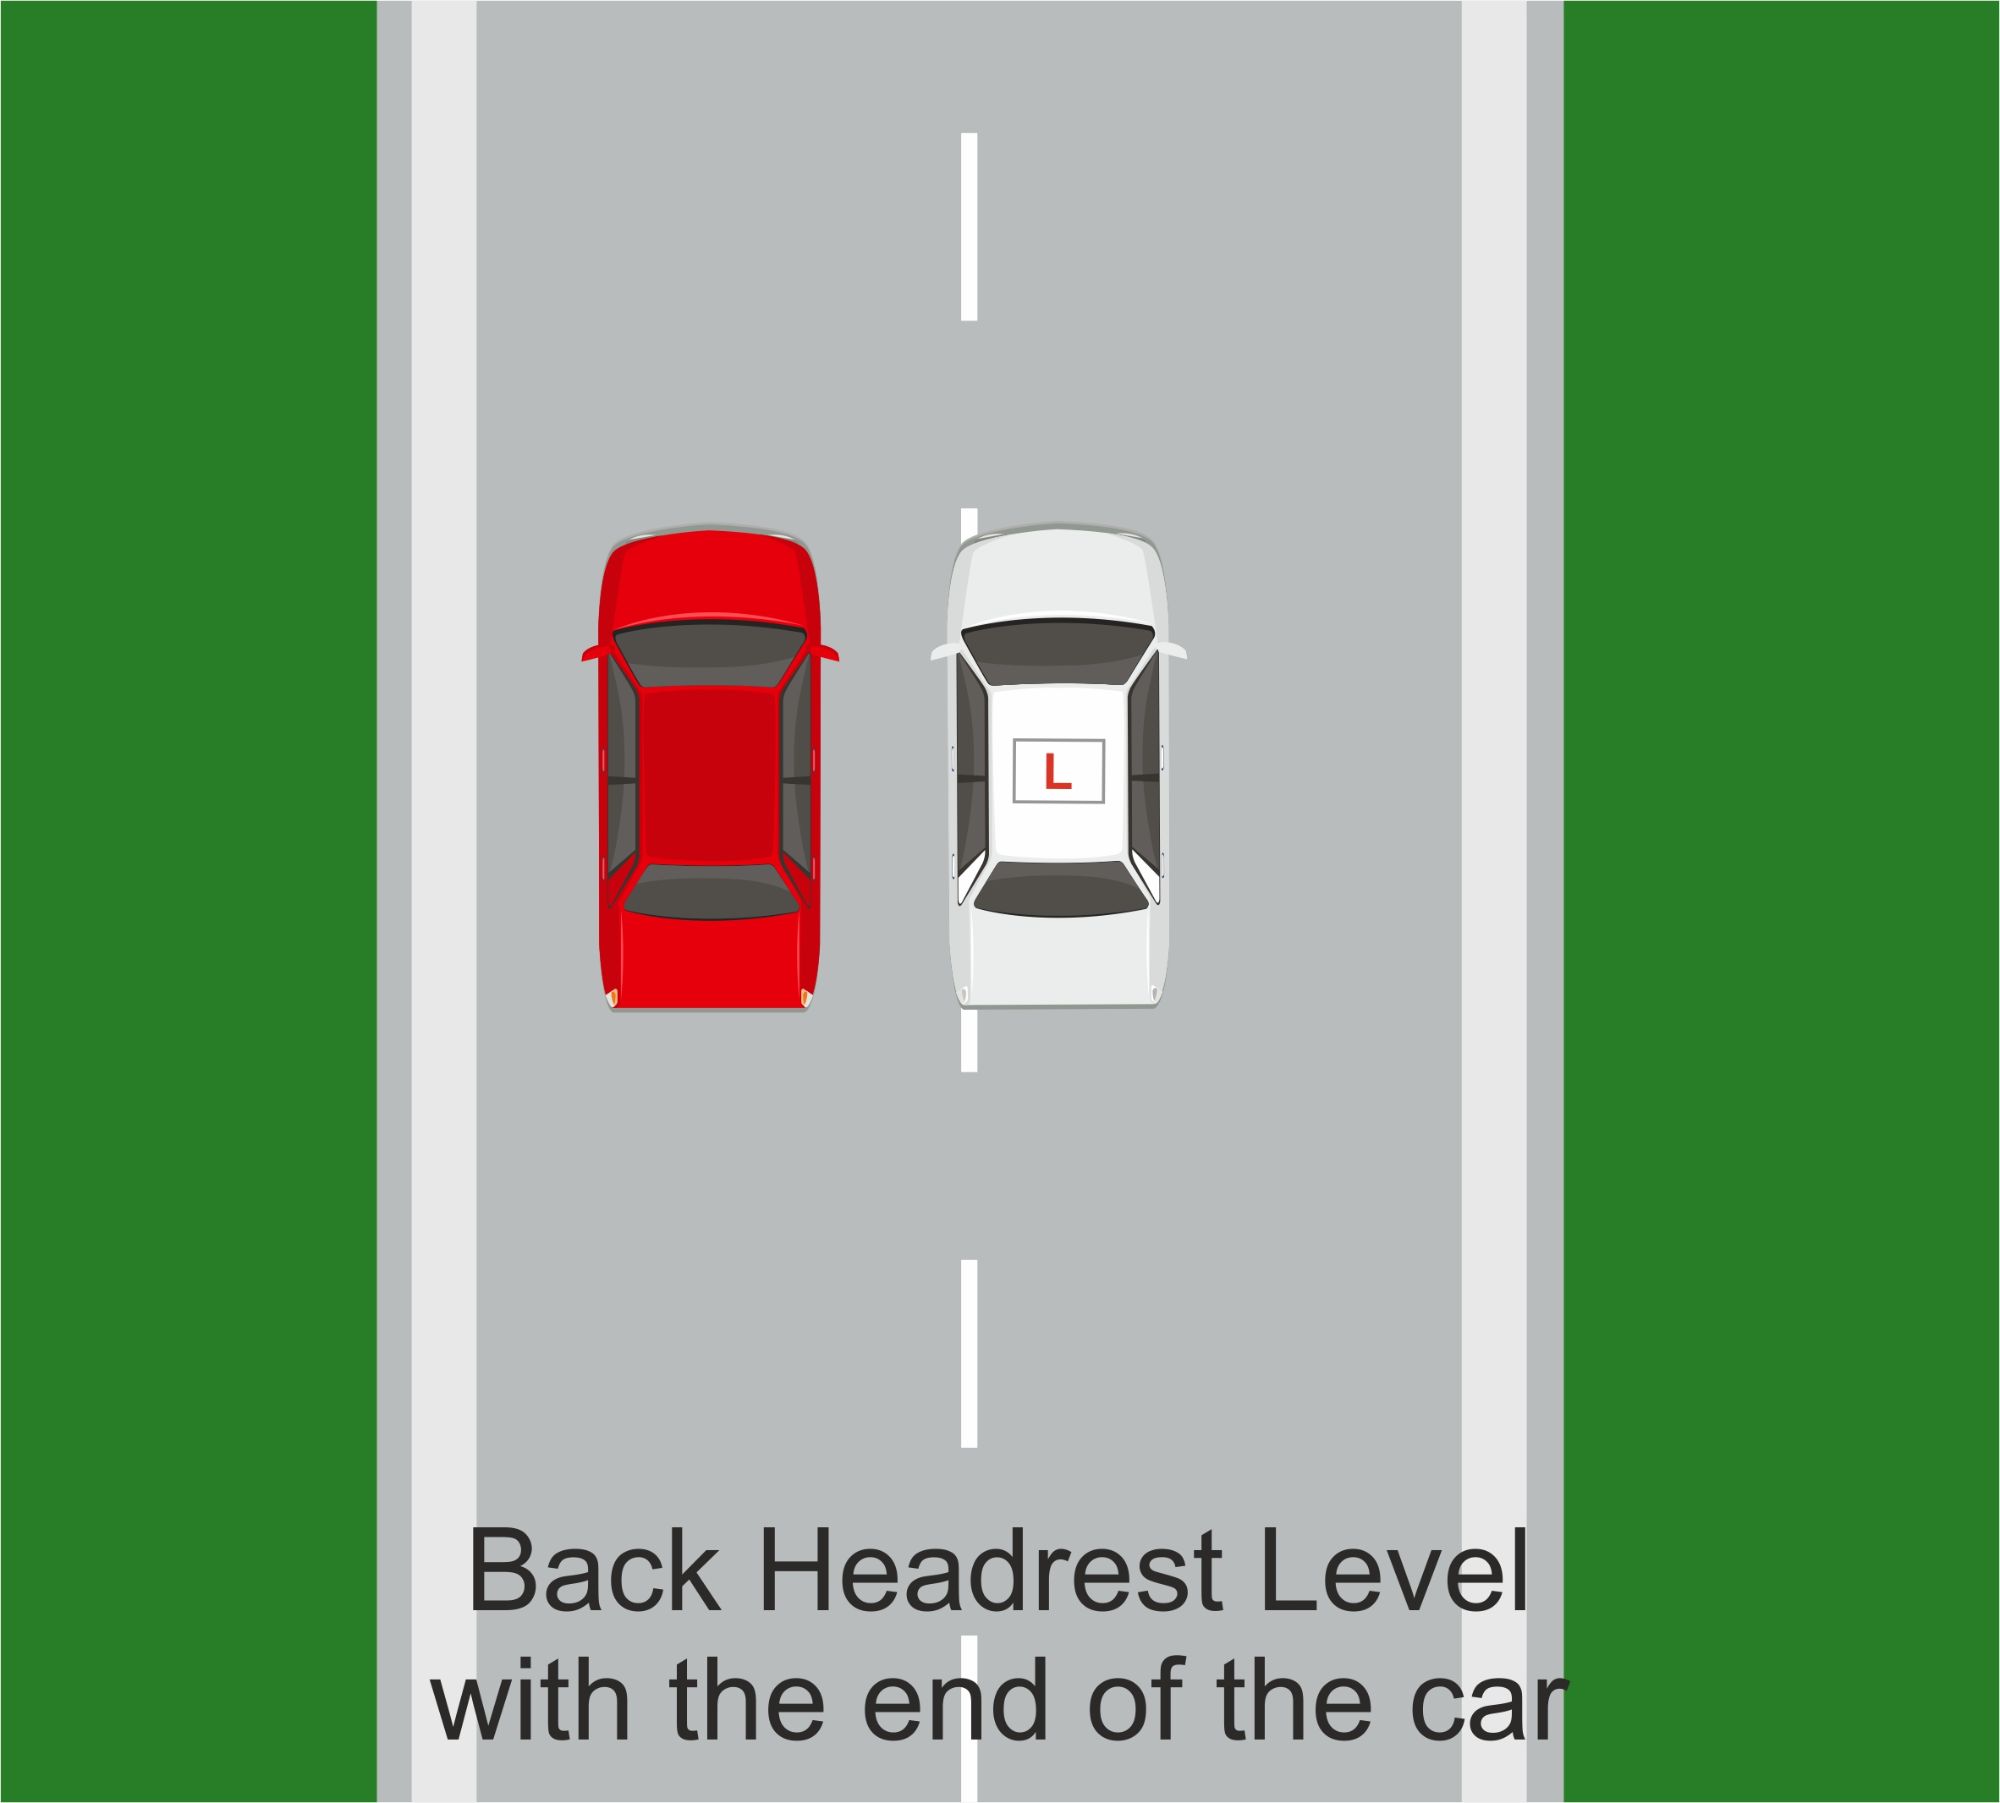
Back Headrest Level With The End Of Car
You will now need to get the rear of the cars level. Set yourself some reference points to help.
The easiest way for the pupil is for the rear headrest in your car, to be level with the end of the vehicle
Establishing and getting confident with your reference points is important and certainly will help with this manoeuvre.
Keep the car very slow as you will need to constantly look around in all directions and be accurate with your reference points. Once you are happy the cars are level, stop the car.
Your car is now at it’s point-of-turn. It is likely just for information purposes, that the examiner will ask you to reverse parallel park behind a single car and not in between 2 cars.
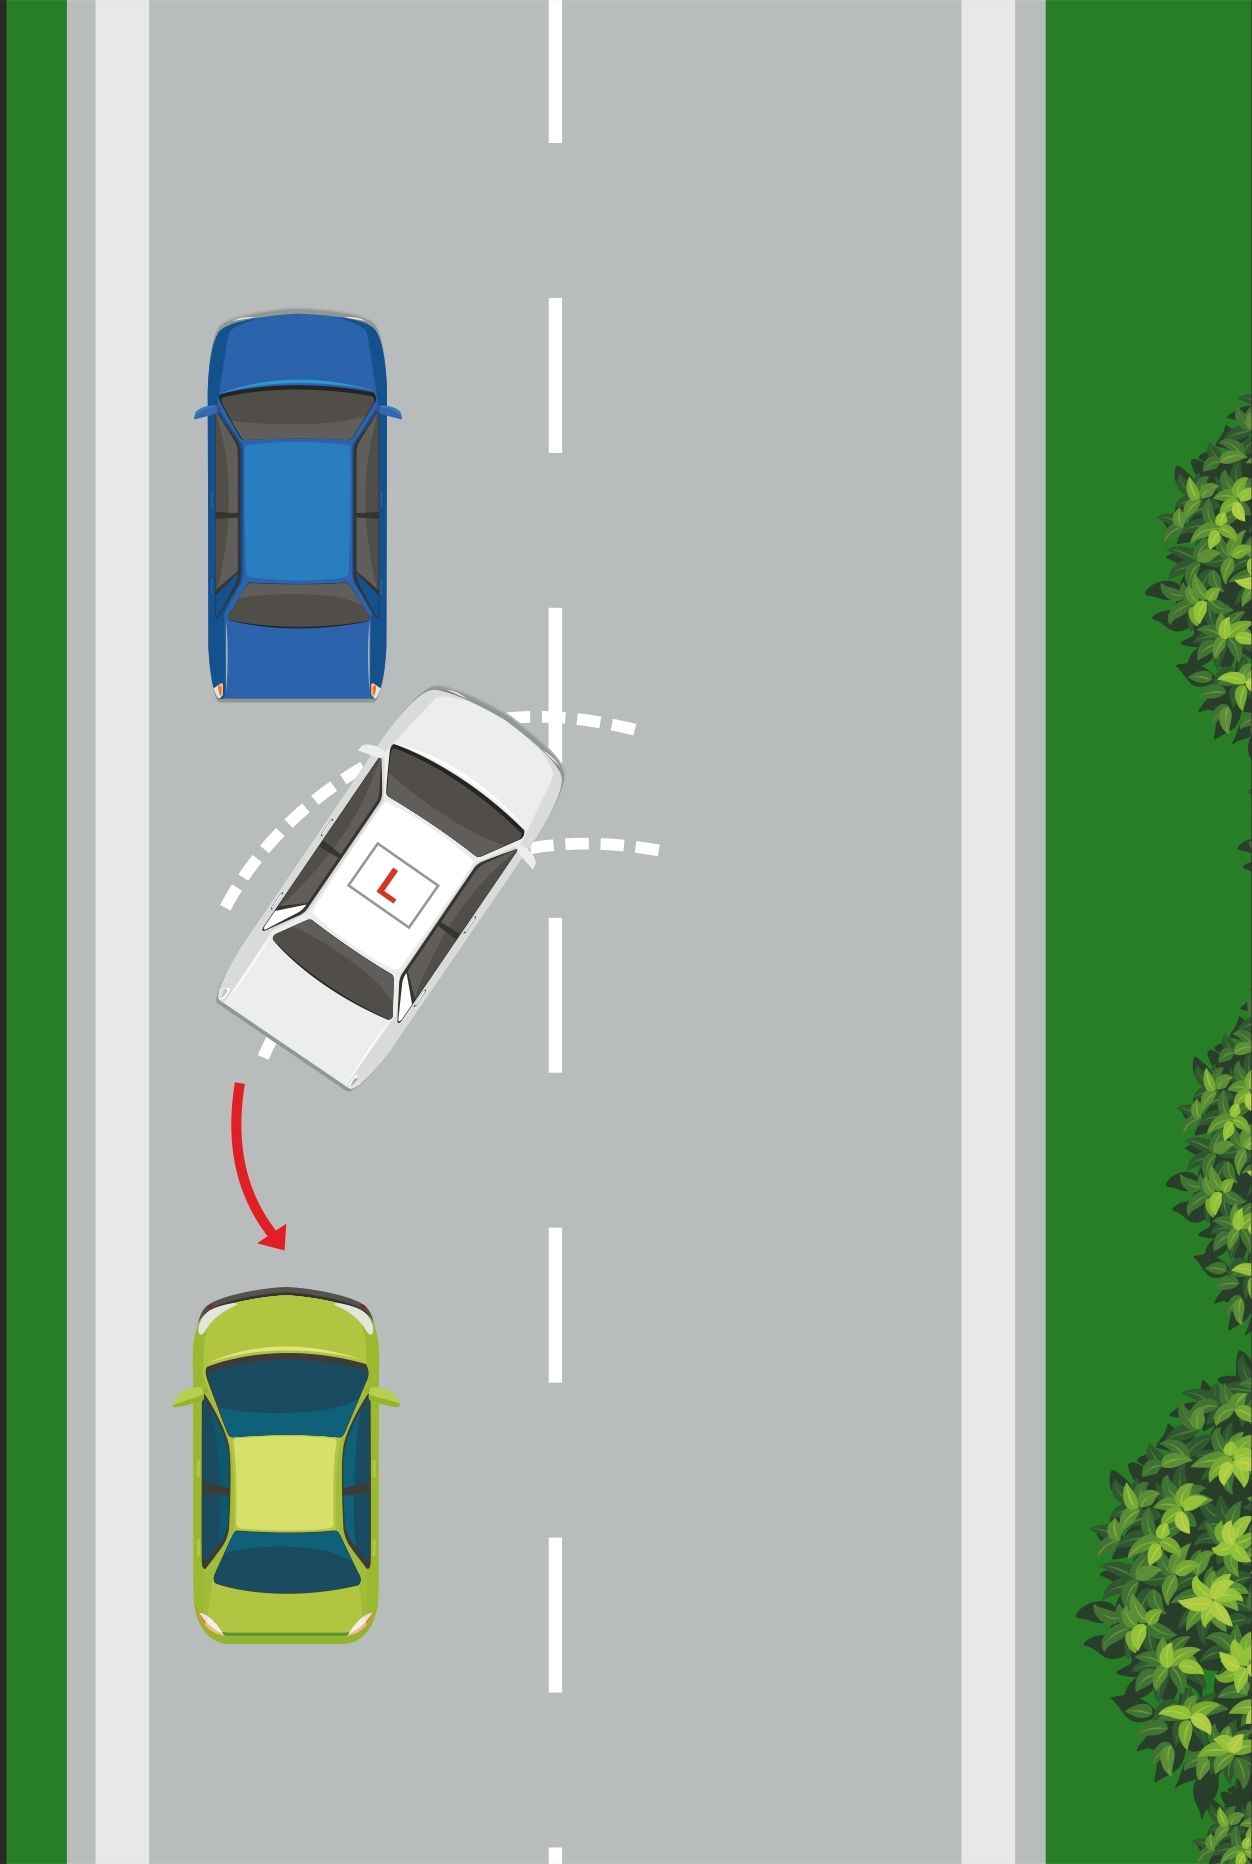
One Turn To The Left
Whilst reversing you will be steering one full turn to the left. This is called the point-of-turn and the front of your car will swing out into the road. This is the most hazardous part of the manoeuvre.
Before moving the car or steering, You need to make sure that its safe. This means checking the centre and right mirror and your right blind spot in case there maybe cyclists you can’t see in the mirrors.
If you are happy it is all clear, look in the direction the car is travelling (out the rear windscreen) and very slowly move the car backwards. Just as you move the car, steer 1 complete turn (360 degrees) to the left. By turning the wheel one turn to the left instead of full left lock, it will make the turning angle slightly shallower and This will eliminate the possibility of your car turning into the car you are parking behind.
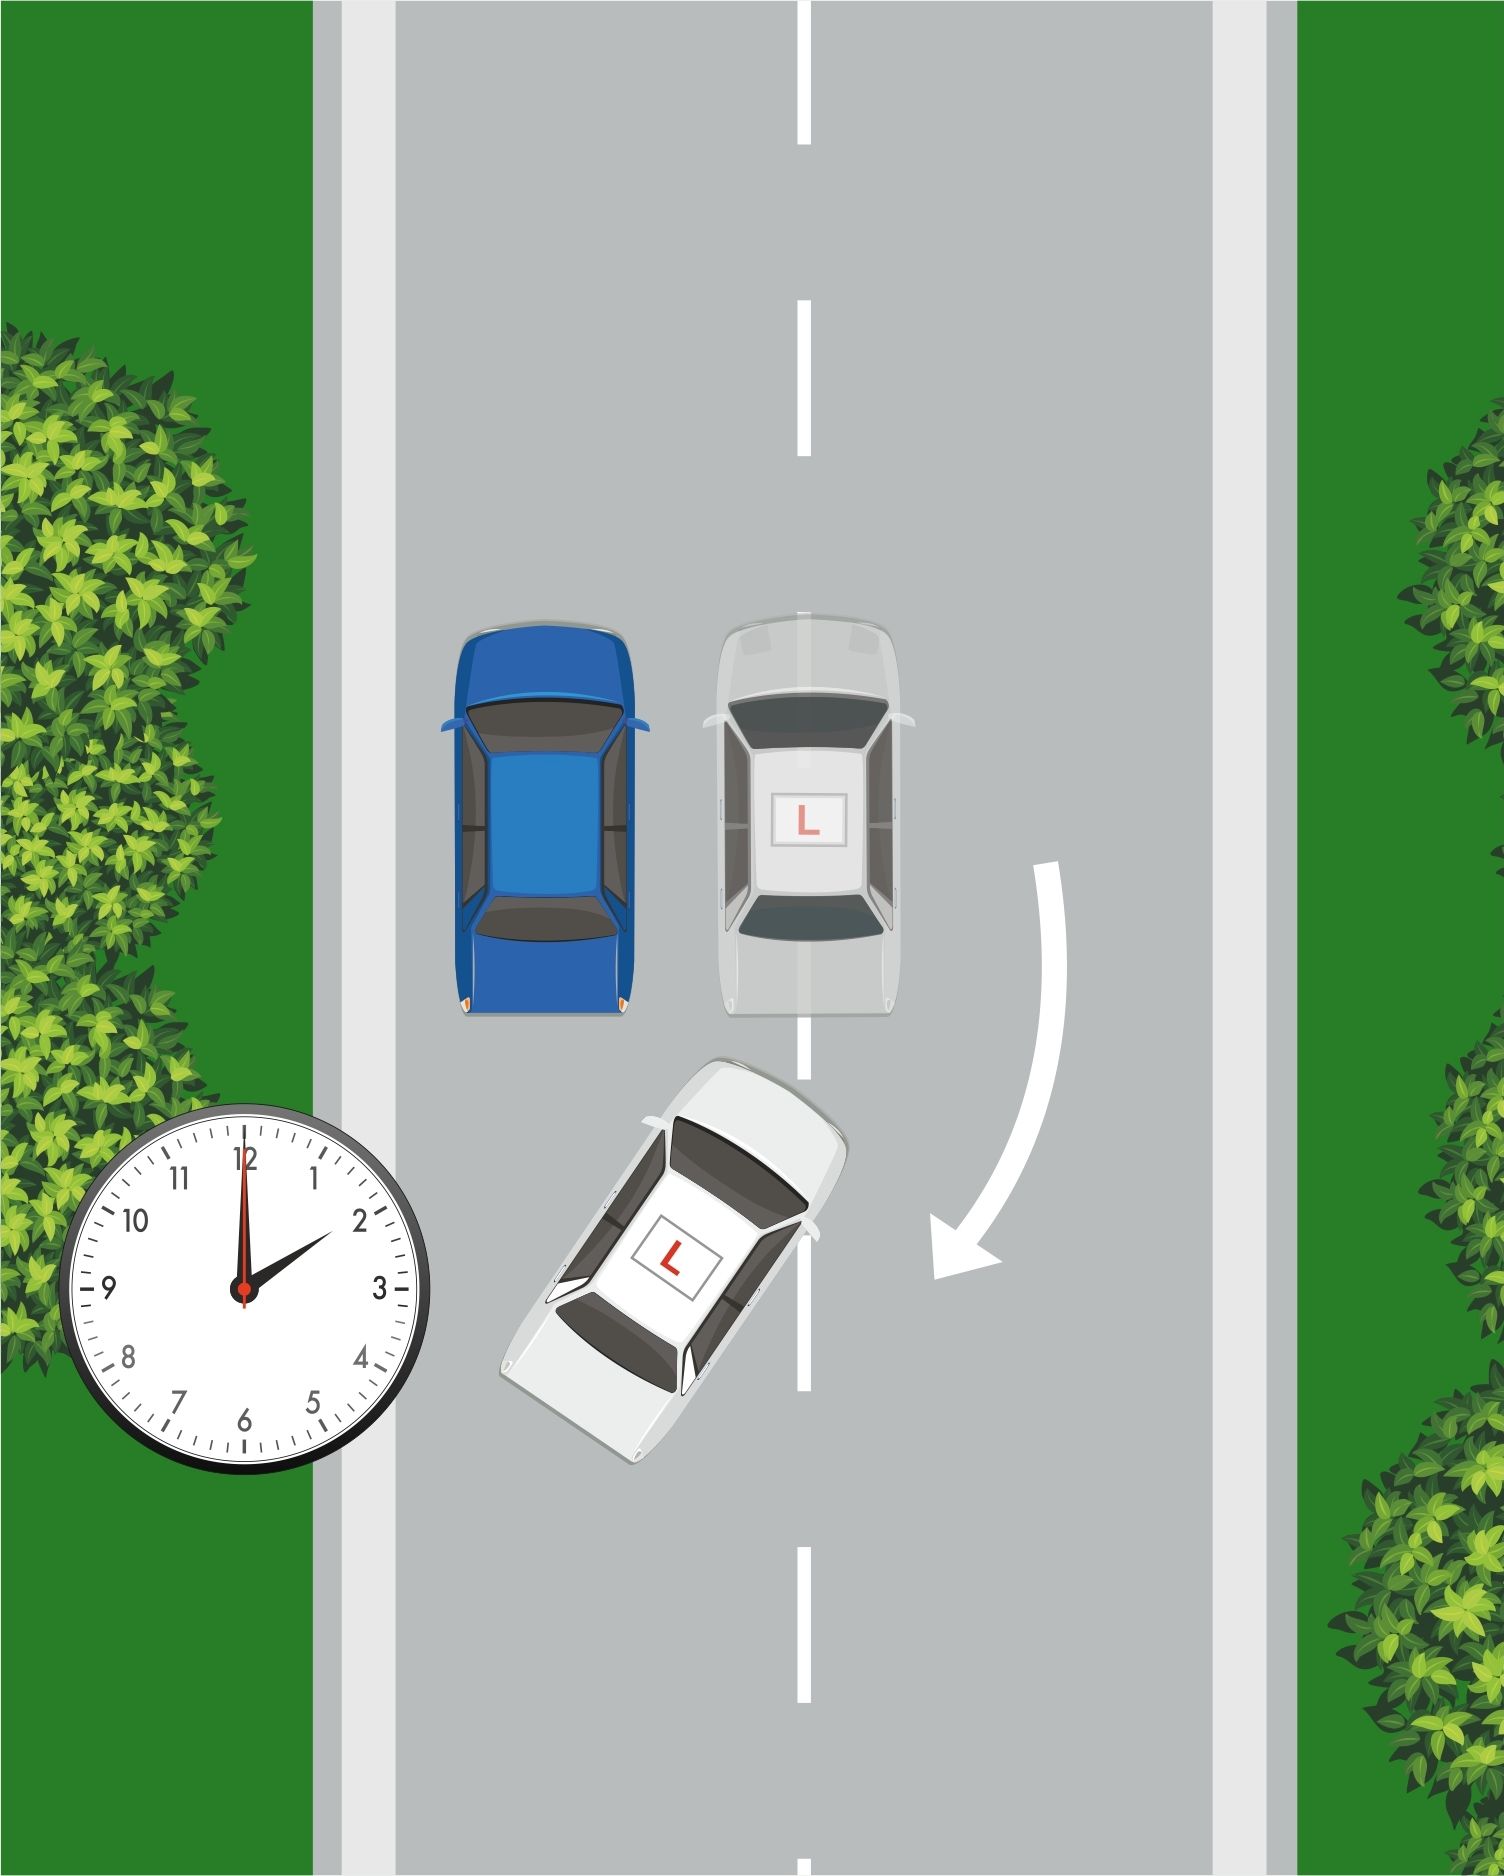
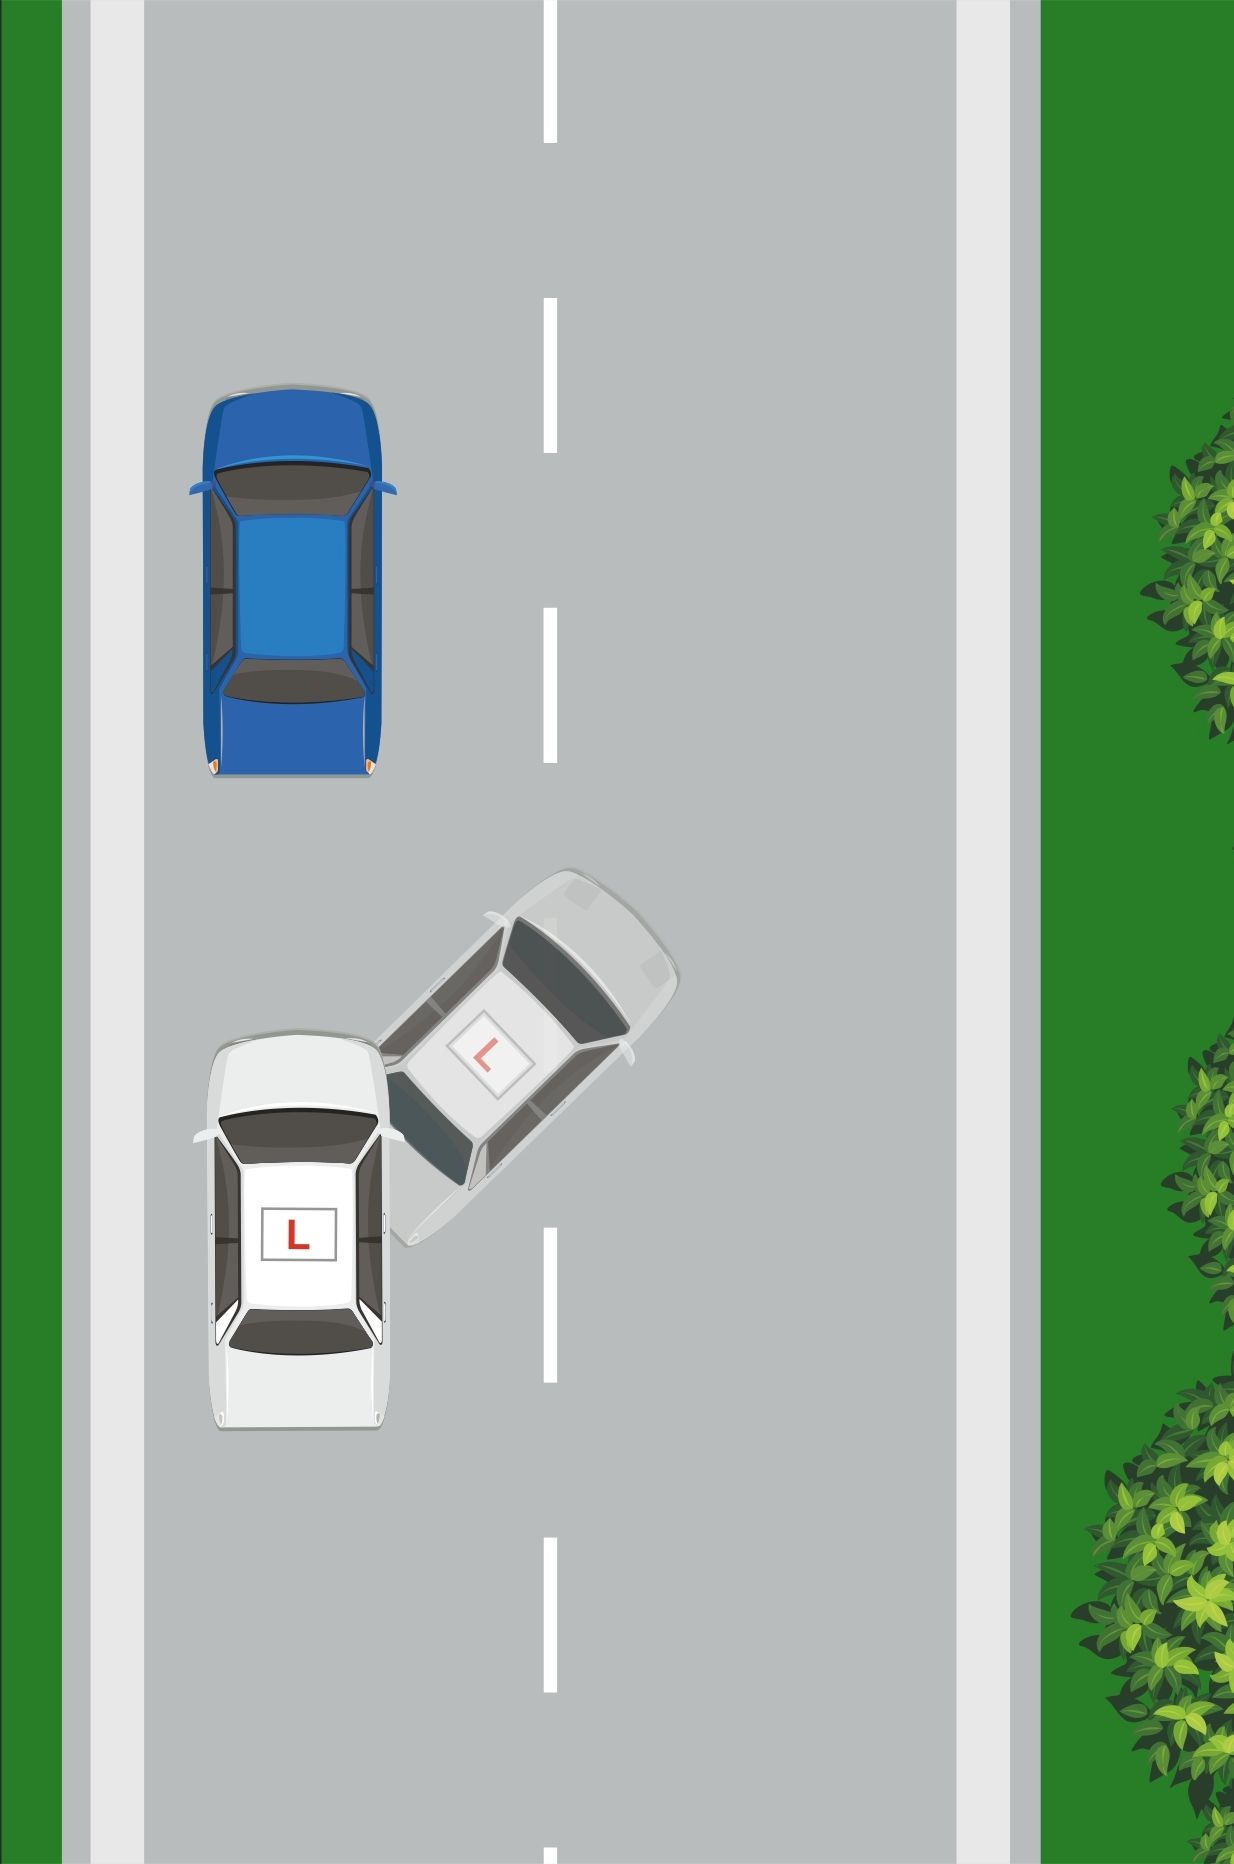
When The Front is At Two O'clock - one turn right
If we imagine a clockface, the vehicle in front of us is parked in the 12 o'clock position.
We want the front of our car to be at the 2 o'clock position - using this as a focal point is easier to show via pictures or for the pupil to grasp, than you saying 45 degrees/a pizza slice/ any other methods that for most pupils is hard to quantify and imagine.
As the front of the car gets to the 2 o'clock position, your pupil will need to turn one full turn to the right. This will straighten the wheels and allow the car to come back towards the kerb.
This is where we need our next focal point.
When the handle is at the kerb -Full right lock
You will now need to establish the next reference point.
Whilst reversing to this focal point, you will need constant all-round observation and likely needing to stop, if you are reversing towards pedestrians, stop, allow them to pass before proceeding. Don’t forget to make frequent checks out the rear windscreen.
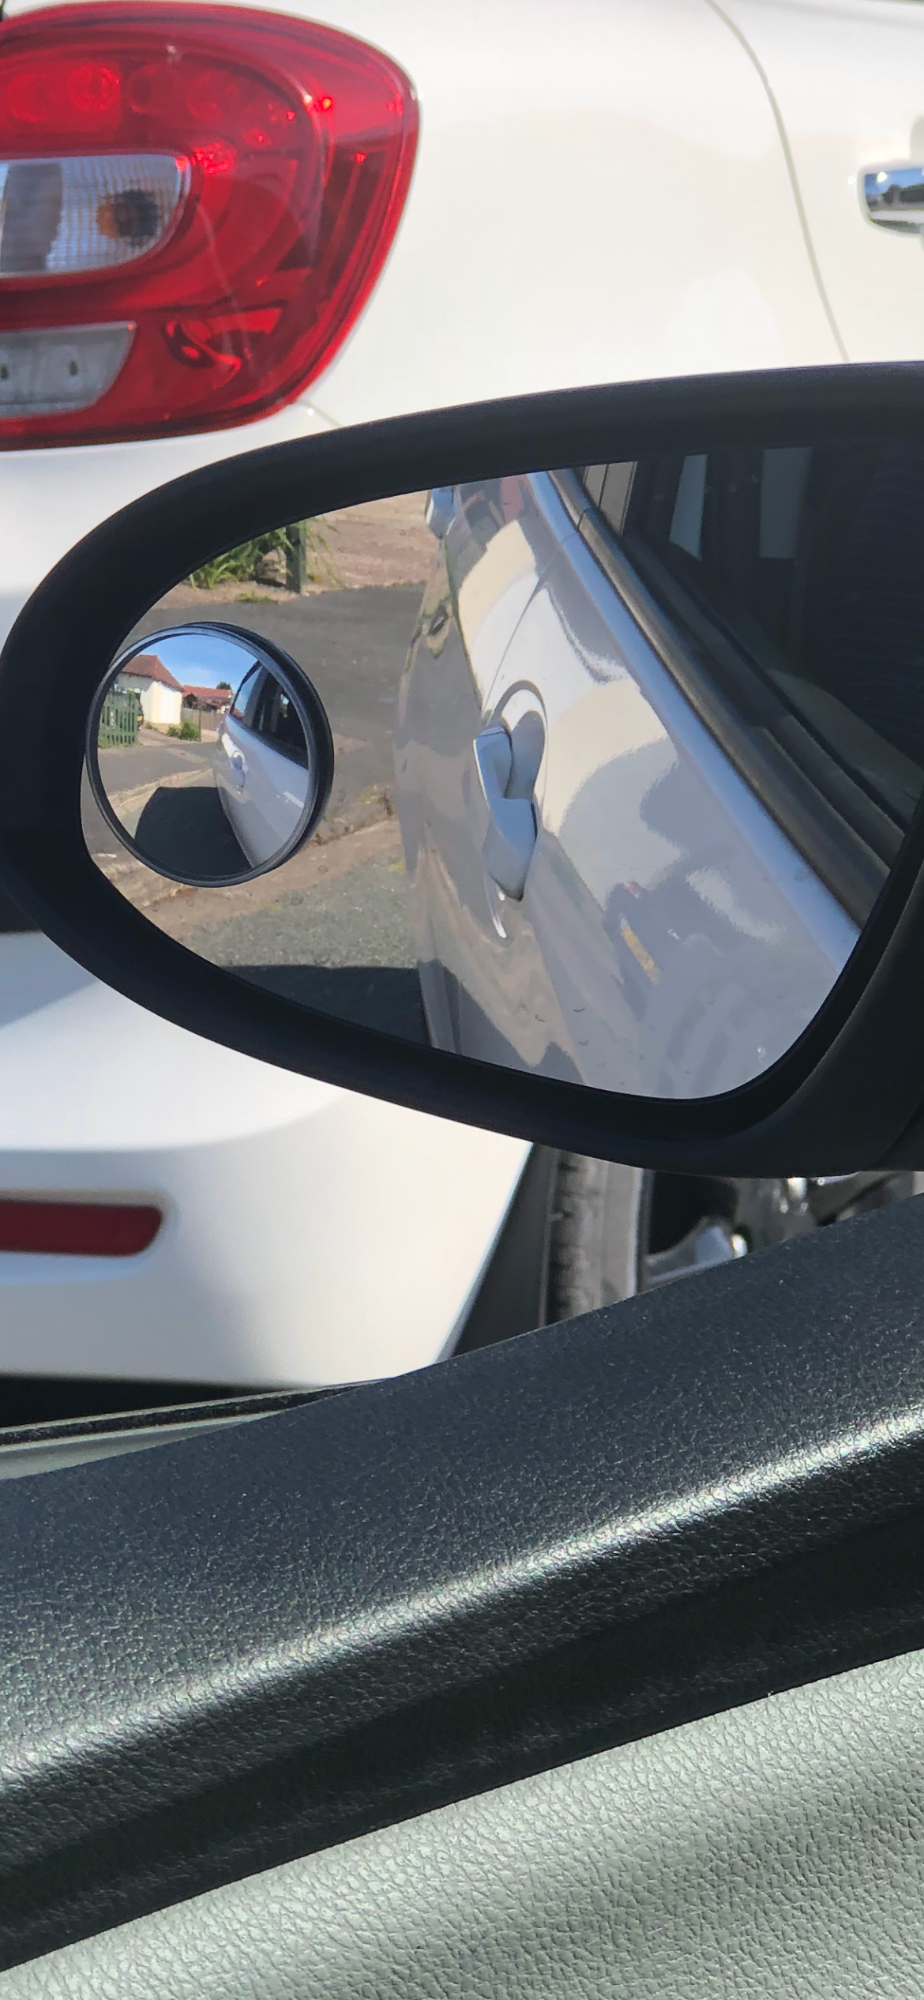
This reference point can vary from car to car, but to give an idea of what usually works is to use your left mirror and when the front door handle in the mirror gets to a certain point (usually just touching/half way/fully over), that’s the time to right lock the steering. Whichever reference point you use, once you reach it, stop. By stopping at each reference point, it breaks down the manoeuvre into bite size pieces and allows the pupil to make sure of each focal point and allows you as the instructor to know at each point if its going to plan or is about to go wrong.
When The Front Of the Car comes Level with The kerb - one and a half turns to the left
It may be an idea to choose a reference point that may ultimately leave too much of a gap from the kerb to eliminate hitting it. Don’t be fooled into thinking the reverse parallel park has to be completed in one single perfect move. It’s better to adjust than hit the kerb as this may result in a test failure.
At your reference point, steer full right lock. This will bring the car in parallel to the kerb. As you are slowly reversing, keep looking all around but also make frequent checks in your left mirror to assess:
- if your car is parallel from the kerb and a suitable distance from the kerb (around 30cm) to stop.
- if your car is too far from the kerb and needs adjusting
If you feel the car is a suitable distance from the kerb and do not need to adjust, just before you stop, steer your wheel to the left 1 turn to straighten up the front wheels.
If you are too far from the kerb, then essentially you will need to go back to the 2 O'clock position and then reverse to get the correct focal point.
For this second point-of-turn, you may need to establish a different reference point. Once the front of the car in the mirror is level with the kerb then turn one and a half turns to the left to straighten the wheels
Come Back until You see the Top Half of The car Infronts Tyres.
Once stopped, apply the handbrake and select neutral. There are potentially many reference points to remember in this manoeuvre. With a lot of practice you will remember them all and it will become easy.
Contact Us
Hours
Monday - Friday:
09:00 am - 6:00 pm
Saturday - Sunday:
10:00 am - 3:00 pm